
The Dashboard: Command Central for Cleaning
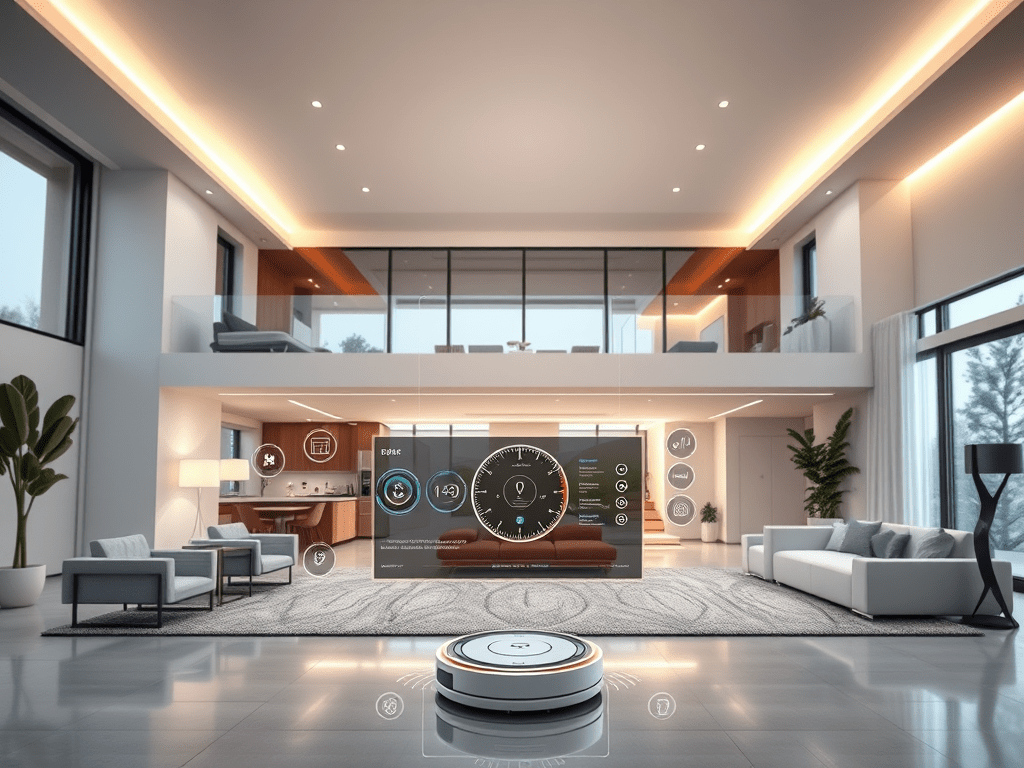
To manage the automation, I built a custom Home Assistant dashboard that acts as the control center for my vacuuming system. Here’s a snapshot of the dashboard layout:

The dashboard includes:
- A row of buttons for all the rooms: Click on a button to add a room to the cleaning queue or remove it. You can also click multiple times to prioritize a room by adding it multiple times to the top of the queue.
- Queue overview: Displays the rooms waiting to be cleaned and the last room cleaned.
- Robot status panels: Shows the current status of my two cleaning robots.
- Start Cleaning button: Initiates the cleaning process manually.
- Automation toggle: Turns the automated cleaning process on or off.
- Alerts and Status Headers: The dashboard headers report the overall system status. If one of the robots encounters an issue (e.g., “eats” something it shouldn’t and needs to be rescheduled), an alert appears on the dashboard with instructions on how to resolve the issue.
This setup makes it easy to interact with the system and manage cleaning schedules on the fly.
How the Automation Works
The vacuuming automation is designed to balance flexibility with autonomy, ensuring a clean home without interrupting daily life. Here’s a breakdown of how it works:
Room Selection and Queue Management
Using the dashboard, I can:
- Add rooms to the cleaning queue: Clicking a room button adds it to the queue. Clicking multiple times pushes it higher in priority.
- Remove rooms from the queue: Clicking again removes the room if it’s already in the queue.
- View the queue and last cleaned room: The dashboard clearly shows what’s next and what’s already done.
Automated Cleaning Based on Presence
The system is smart enough to clean when no one is home. Here’s how it works:
- Presence detection: If the house is empty for 10 minutes and the time is within a specified schedule (e.g., weekdays between 9 AM and 6 PM), the cleaning process begins.
- Sequential cleaning: The first room in the queue is cleaned. Once done, the system moves to the next room—but only if no one has returned home.
This ensures that cleaning happens unobtrusively, maintaining a peaceful environment when people are present.
Overdue Room Detection
An additional automation ensures that no room is neglected:
- The system tracks the last cleaned timestamp for each room.
- If a room is overdue for cleaning based on a predefined interval, it is automatically added to the queue.
This feature keeps the entire home consistently clean, even if I forget to add rooms to the queue manually.
Technical Details
For those interested in the technical implementation, here is the blueprint used to control the vacuum:
blueprint:
  name: Vacuum
  description: Start a vacuum cleaner
  domain: script
  input:
    vacuum:
      name: Vacuum
      description: The vacuum to start
      selector:
        entity:
          domain: vacuum
    room:
      name: Room
      description: The room
      selector:
        entity:
          domain: input_text
    current_room:
      name: Current room
      description: Input text to store the current room
      selector:
        entity:
          domain: input_text

mode: single

variables:
  room: !input 'room'
  room_text: "{{ states(room) }}"
  room_number: "{{ states(room).split(',')[2] | int}}"
  pmap_id: "{{ states(room).split(',')[5] }}"

sequence:
  - condition: state # check if the vacuum is docked
    entity_id: !input 'vacuum'
    state: docked
  - service: vacuum.send_command # start the vacuum
    target:
      entity_id: !input 'vacuum'
    data:
      command: start
      params:
        pmap_id: "{{ pmap_id }}"
        regions:
          - region_id: |
              {{ '0' ~ room_number }}
            type: 'rid'
  - delay: '00:00:10'
  - condition: not
    conditions:
      - condition: state # check if the vacuum started cleaning
        entity_id: !input 'vacuum'
        state: docked
  - service: input_text.set_value # store the current room
    target:
      entity_id: !input 'current_room'
    data:
      value: "{{ room.split('.')[1] }}"
  - service: script.1717681909594 # script to remove the room from the list
    data:
      number: "{{ room.split('.')[1] }}"
      mode: Remove
Note: The code snippets provided above are for starting the cleaning process and not for managing room selection.
Room Definitions
Rooms are defined with details such as name, identifiers, and parameters. Here’s an example of how a room is configured as input_text:
room_definitions:
  entree:
    name: room_entree_definition
    initial: 'Entree,entree,4,vacuum_entree,mdi:door-open,M6zVU1RLRVBCDgw,123106T9273922'
    max: 100
    pattern: "[a-zA-Z\\s]+,[0-9]+"
Away Mode Automation
Another critical aspect of the system is the automation that triggers cleaning when the house is empty. Here’s the code:
alias: Clean house when AWAY
description: ""
triggers:
  - entity_id:
      - binary_sensor.home_presence
    from: "on"
    to: "off"
    for:
      hours: 0
      minutes: 8
      seconds: 0
    id: Away
    trigger: state
conditions:
  - condition: template
    value_template: "{{ is_state('input_boolean.auto_vacuum_houseclean', 'on') }}"
  - condition: time
    before: "18:00:00"
    weekday:
      - fri
      - thu
      - wed
      - tue
      - mon
      - sat
      - sun
    after: "08:00:00"
actions:
  - data:
      entity_id: script.{{next_clean_script}}
    action: script.turn_on
variables:
  next_clean_script: |
    {% if states('input_text.entree').split(",")[1] == next_clean_id %}
        {{ states('input_text.entree').split(',')[3] }}
    {% endif %}
mode: single
The next_clean_script are scripts to call the blueprint with the correct parameters:
alias: vacuum_entree
use_blueprint:
  path: pgroene/vacuum.yaml
  input:
    vacuum: vacuum.freddy
    room: input_text.entree
    current_room: input_text.vacuum_current_room
icon: mdi:door
description: ""
Benefits of the System
This automation offers several advantages:
- Hands-free cleaning: Once set up, the system requires minimal manual intervention.
- Efficient scheduling: Presence detection ensures cleaning happens when it’s least disruptive.
- Consistent cleanliness: Overdue room detection ensures no space is overlooked.
- Customizable logic: The automation can be tailored to specific household needs, such as excluding certain days or times.
- Error management: Alerts for robot issues help ensure the system remains operational and responsive to unexpected problems.
Challenges and Future Improvements
Setting up this system wasn’t without its hurdles. The biggest challenge was fine-tuning presence detection to avoid false positives (e.g., detecting someone as “away” when they’re just in a different part of the house). I resolved this by integrating multiple sensors for more accurate tracking.
Future Enhancements
- Enhanced scheduling: Allowing for more granular control over cleaning times.
- Improved queue management: Adding drag-and-drop functionality to reorder the queue visually.
Conclusion
Automating vacuuming with Home Assistant has transformed how I manage cleanliness in my smart home. It’s a perfect blend of convenience, efficiency, and innovation. If you’re looking to streamline your home’s cleaning process, give this setup a try! I’d love to hear about your experiences or answer any questions—leave a comment below.
