

Implementation
To create this automation, you’ll need two door sensors: one on the inlet of the mailbox and the other on the door you open to retrieve the mail. Here’s a step-by-step breakdown of the YAML code that makes this magic happen:
Define the Automation
The automation is triggered by changes in the state of the two door sensors in the mailbox.
alias: Mailbox received mail
description: ""
triggers:
  - trigger: state
    entity_id:
      - binary_sensor.door_mailbox_in_500_contact_in
    from: "off"
    to: "on"
    id: new
  - trigger: state
    entity_id:
      - binary_sensor.door_mailbox_in_501_contact_out
    from: "off"
    to: "on"
    id: emptied
conditions: []
actions:
  - choose:
      - conditions:
          - condition: trigger
            id:
              - new
        sequence:
          - action: input_boolean.turn_on
            metadata: {}
            data: {}
            target:
              entity_id: input_boolean.mail
      - conditions:
          - condition: trigger
            id:
              - emptied
        sequence:
          - action: input_boolean.turn_off
            metadata: {}
            data: {}
            target:
              entity_id: input_boolean.mail
mode: single
State Management
The state of the mailbox is managed using an input_boolean entity.
sensor:
mail:
name: Mailbox sensor
initial: false
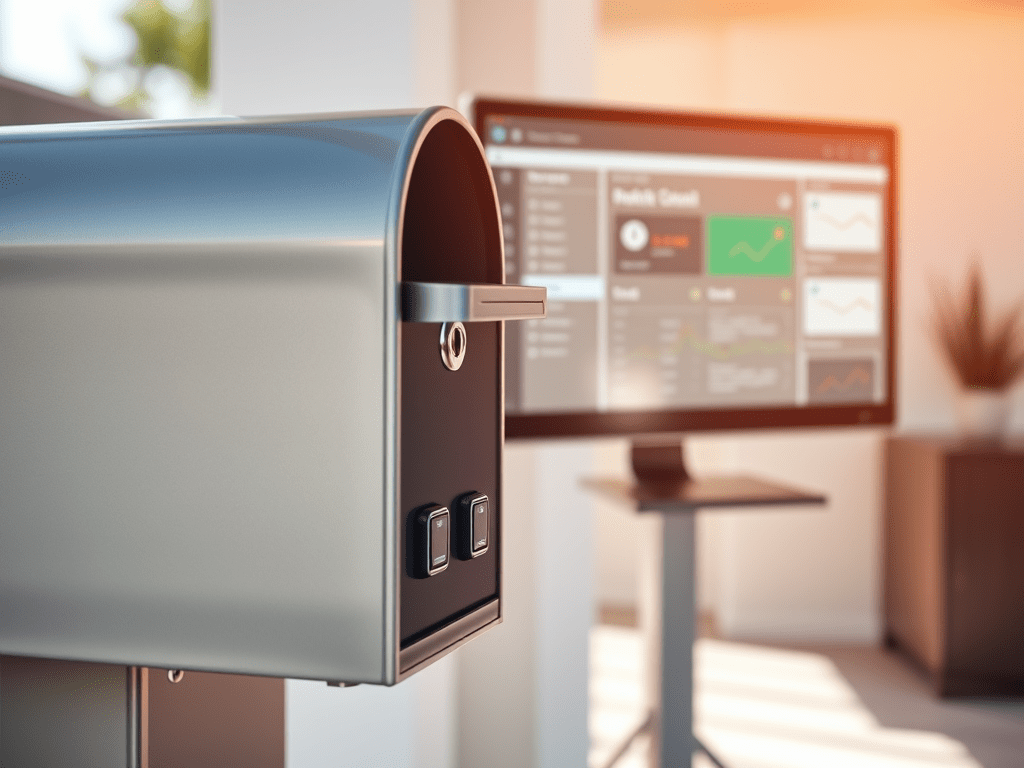
icon: mdi:mailboxThe final step is to utilize the sensor.mail to trigger an alert or display a notification on your dashboard. This ensures you’ll always be informed whenever there’s mail in your mailbox.
Conclusion
With this setup, you’ll always know when there’s mail waiting for you, and the alert will automatically reset once you retrieve it. No more manual resets or missed mail! This automation not only adds convenience to your daily routine but also showcases the power of Home Assistant in creating a smart home environment.
Happy coding (and automating)! 😊📬
